

Hasselback potatoes show up everywhere—from holiday dinners to weeknight meals where you want something a little more special than a basic baked potato.
The first time you bring a tray to the table, though, it’s hard not to notice how fast they disappear.
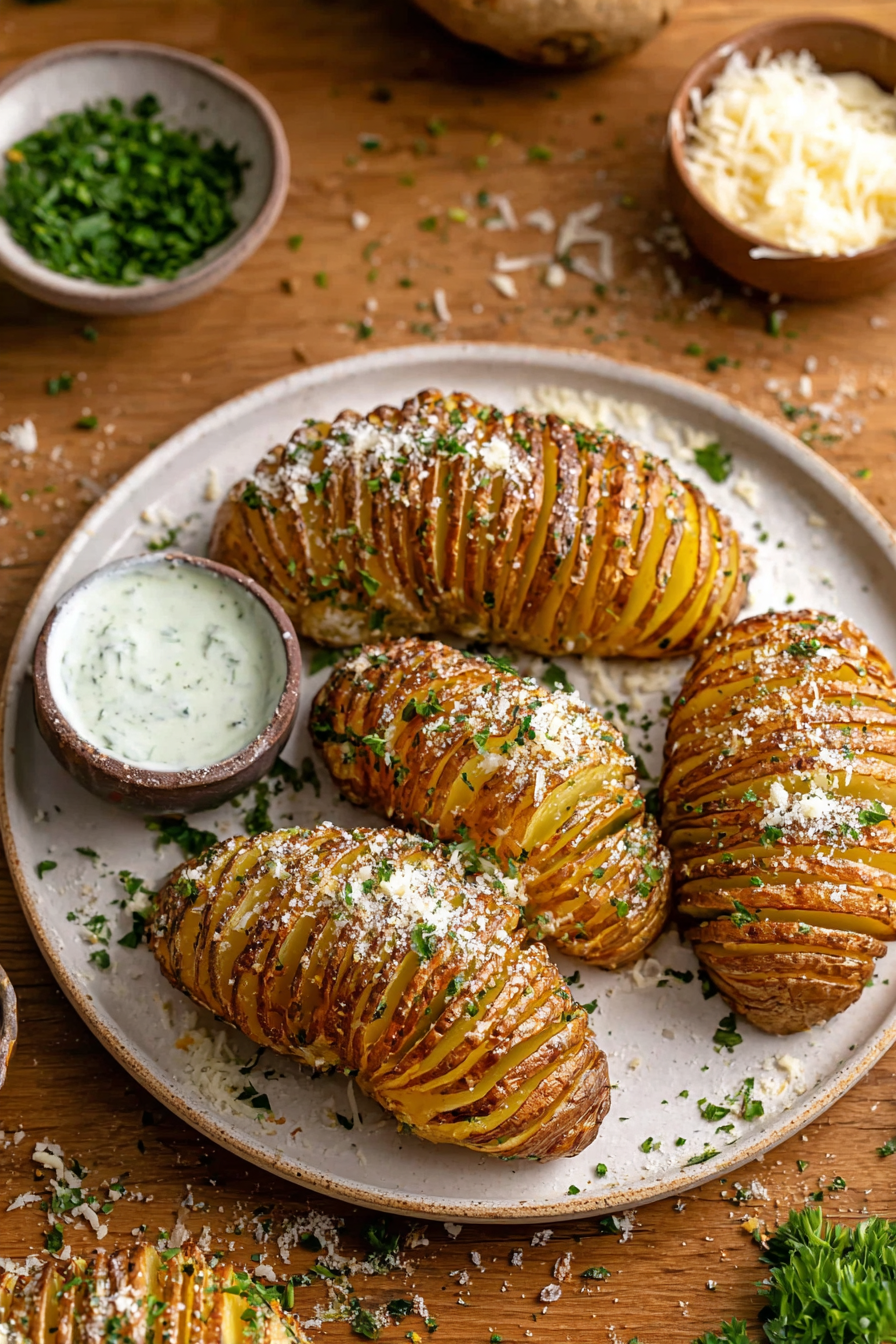
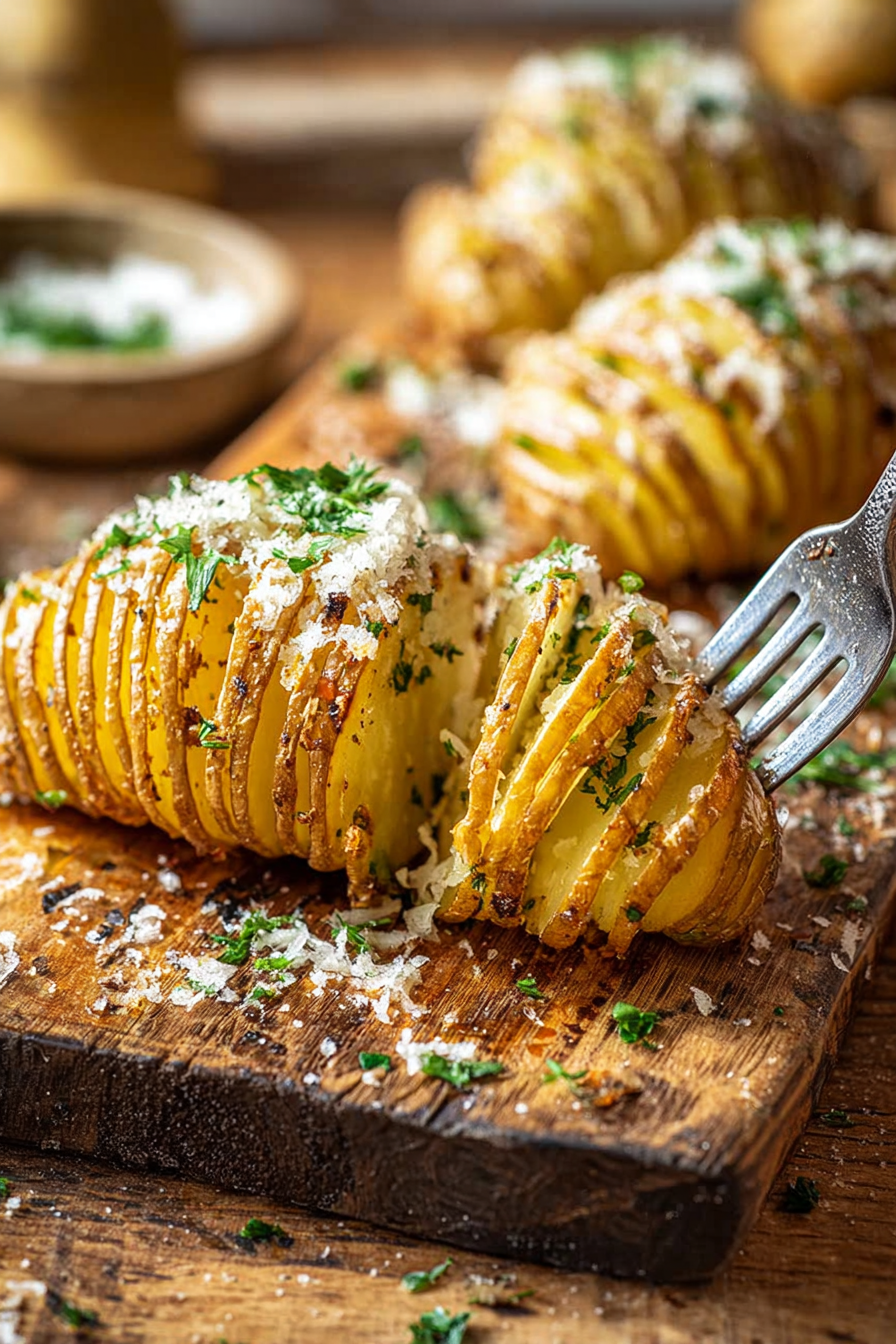
Those thin, fanned slices crisp up around the edges while the centers stay soft and fluffy,
soaking up all that melted butter.
And when they come out of the oven hot and golden, everyone ends up reaching for the crispiest one.
For Hasselback Potatoes
- Russet Potatoes – these are ideal for this recipe because they get crispy on the outside while staying light and fluffy inside.
- Unsalted Butter – melted butter seeps into the slices and helps create those golden, crispy edges while adding rich flavor.
- Kosher Salt – enhances the natural flavor of the potatoes and balances the richness of the butter.
- Black Pepper – adds a subtle kick and depth to the overall flavor.
- Salt and Pepper (to taste) – for finishing at the end, so you can adjust seasoning just how you like it.
Crispy Hasselback Potatoes Recipe
Notes
Ingredients
- 4 large russet potatoes, washed and patted dry
- 4 tablespoons unsalted butter, melted, divided
- 1 teaspoon kosher salt
- ½ teaspoon pepper
- Salt and pepper, to taste
Instructions
- Place an oven rack in the center and heat your oven to 425°F. Prepare an unlined baking sheet and set it aside.
- Set a potato between two chopsticks or skewers to act as a guide.
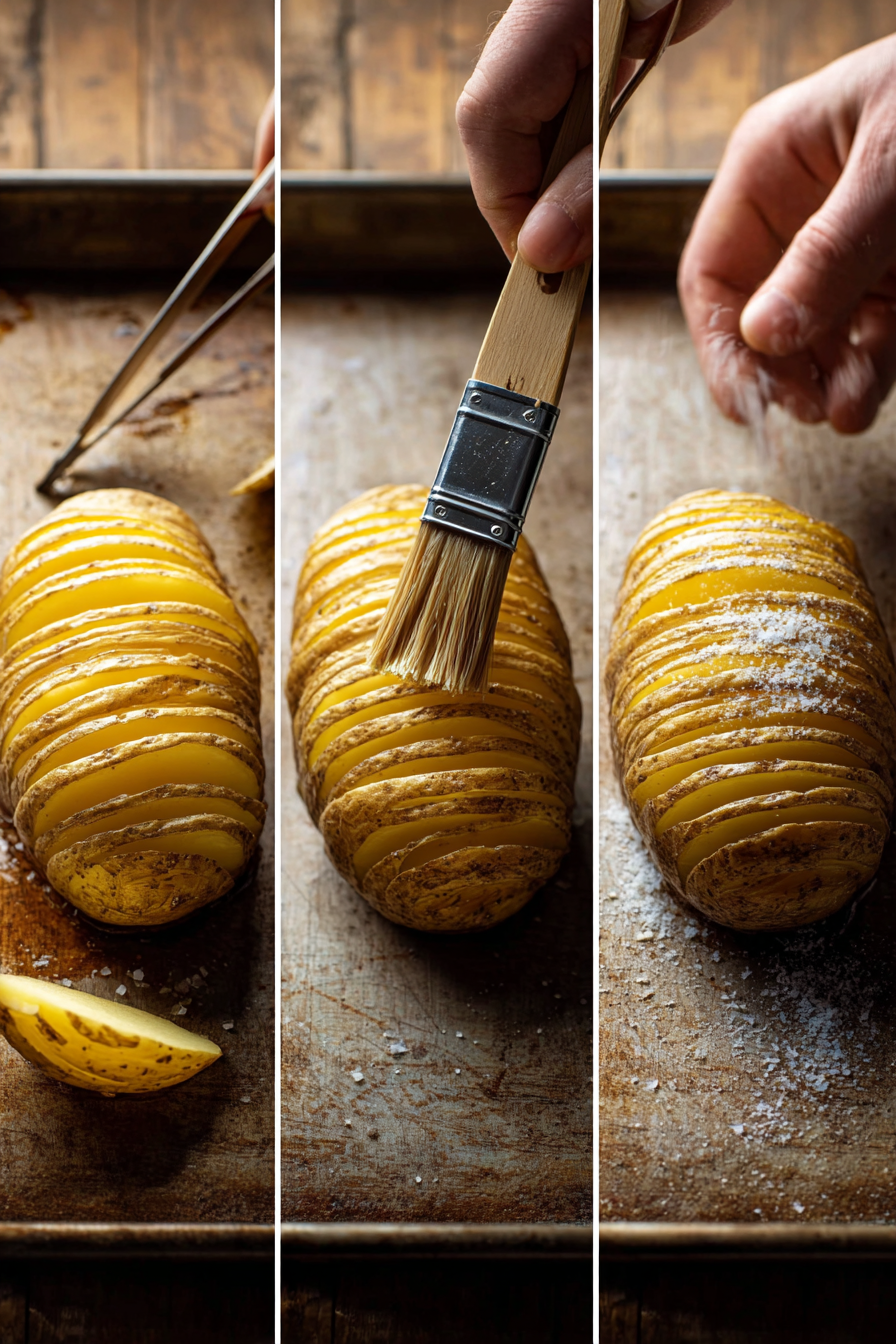
- Slice the potato vertically into thin cuts (about ⅛ inch apart), stopping when your knife reaches the chopsticks so the base stays intact. Repeat with the remaining potatoes.
- Transfer the potatoes to the baking sheet. Brush roughly half of the melted butter over each potato, making sure it gets into the slices.
- Sprinkle with the measured salt and pepper.
- Bake for 30 minutes. After this time, gently separate the slices slightly using a knife, then brush with the remaining butter.
- Return to the oven and bake for another 30–35 minutes, until the edges are crisp and the centers are tender. (Timing may vary depending on potato size.)
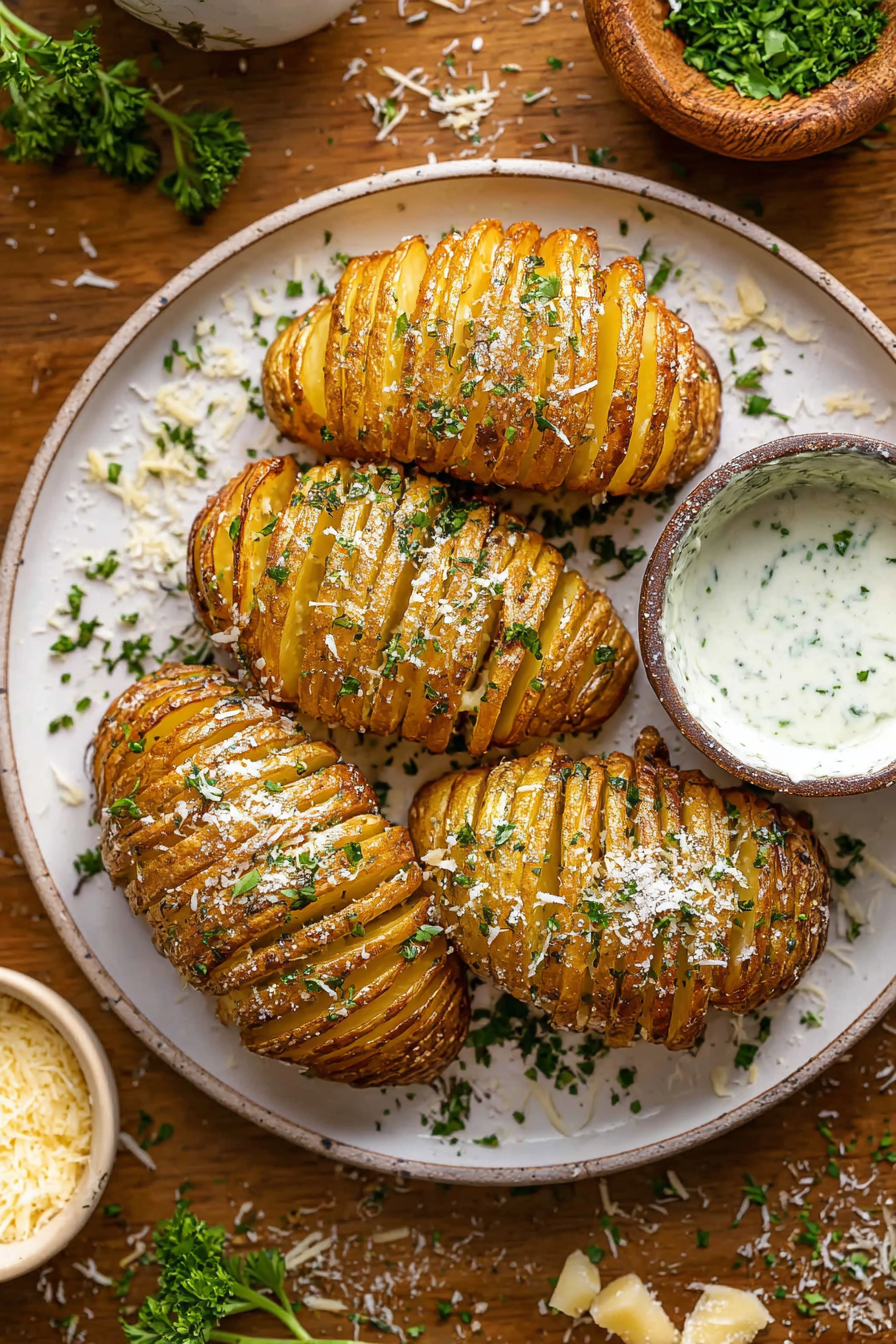
- Serve hot and finish with additional salt and pepper to taste.
1. How do I keep from slicing all the way through the potatoes?
This is the trickiest part, but it’s super easy to fix! Place chopsticks or wooden spoons on each side of the potato before slicing. They stop your knife from going all the way through so you get those perfect fan-like layers every time.
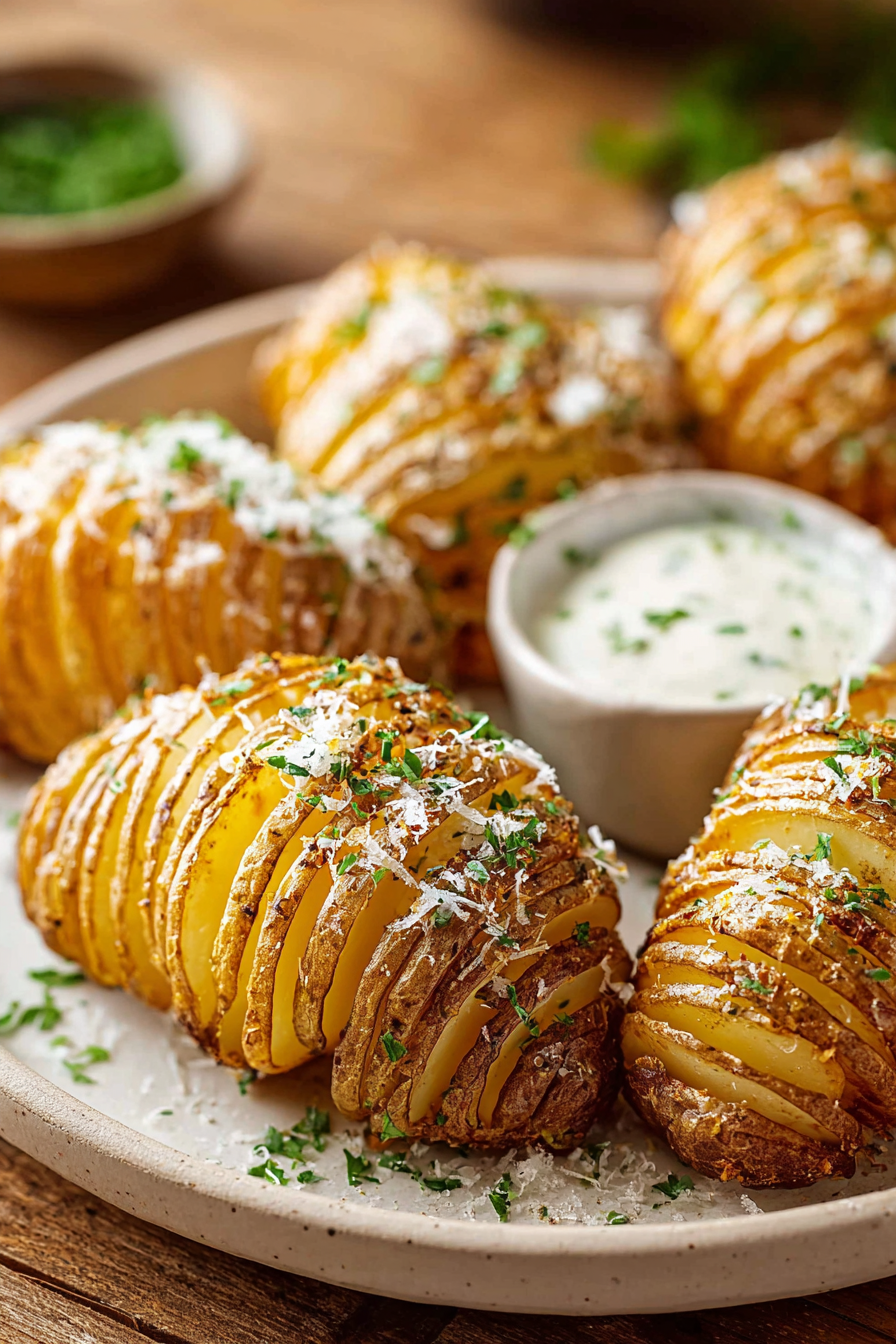
2. Why didn’t my potatoes turn crispy?
For that signature crispiness, make sure your slices are thin and evenly spaced. Also, don’t rush the bake time—those extra minutes in the oven really help the edges turn golden and crisp while the inside stays tender.

3. Do I really need to brush butter between the slices?
Yes, and it makes all the difference! Getting butter in between the slices helps flavor every layer and gives you those delicious crispy edges. It’s worth taking an extra minute to brush it in well.
4. Can I prepare these potatoes ahead of time?
You can slice the potatoes ahead and keep them in water to prevent browning. Just be sure to dry them really well before baking so they roast properly instead of steaming.
5. What are the best potatoes to use?
Russet potatoes are my go-to for this recipe. They have the perfect texture—crispy on the outside and soft and fluffy inside—just what you want for Hasselback potatoes.